
There’s something about archery that stirs the soul—whether it’s the thrill of hitting the bullseye, the quiet focus of drawing the bow, or the feeling of mastery when you hit your target. Archery isn’t just a sport; it’s an ancient tradition that connects you to the past, from the knights of old to the hunters of the wild frontier.
But before you can shoot like Robin Hood or Katniss Everdeen, you’ve got to start with the basics. Whether you want to practice in your backyard or pursue it as a serious hobby, here’s everything you need to know to get started in the world of archery—and improve your skills along the way.
Step 1: Choosing Your Archery Gear – The Right Bow and Arrow for Beginners
Before you start practicing your aim, you’ll need the right gear. Choosing your bow and arrows is a critical first step, and it doesn’t have to be complicated. Here’s what you’ll need:
1. The Bow:
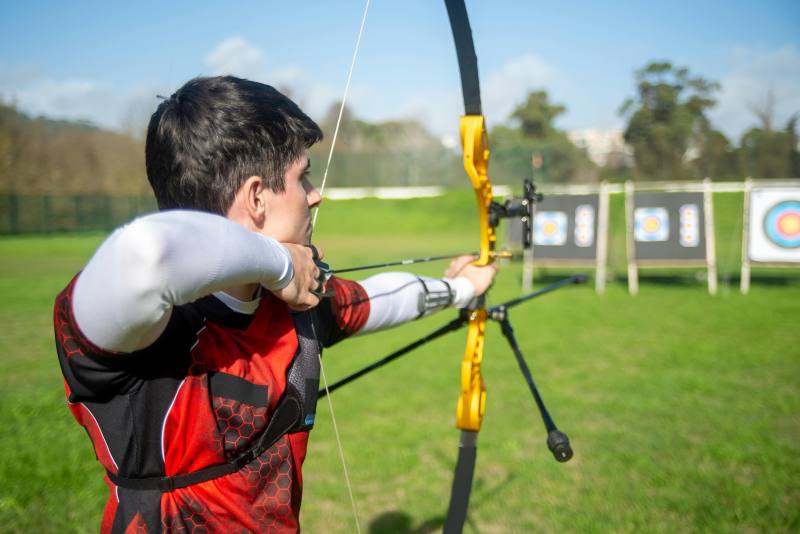
- Recurve Bow: Ideal for beginners. It’s simple, easy to use, and perfect for target practice. The recurve bow is called so because its limbs curve away from the archer when unstrung, giving it more power and speed.
- Compound Bow: More advanced than the recurve, the compound bow uses pulleys to make it easier to hold the string back. If you plan to shoot longer distances or get into hunting, this is the bow to aim for in the future.
- Longbow: The traditional weapon of archers in medieval times. It’s simple and elegant, but it requires more strength to draw. Perfect if you’re into historical archery but might be a bit challenging for beginners.
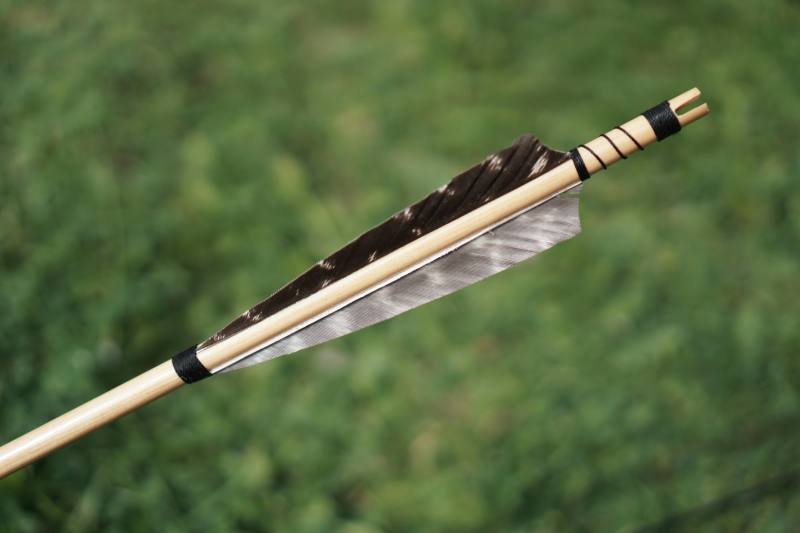
2. Arrows:
Arrows come in many shapes, sizes, and materials. For beginners, choose arrows that are lightweight (around 30 to 35 pounds of draw weight). These will be easier to handle as you get used to the bow. Look for arrows made of aluminum or carbon for durability and performance.
3. Additional Gear:
- Finger Tab or Glove: To protect your fingers from the string.
- Armguard: To prevent the string from hitting your arm.
- Quiver: To hold your arrows while you shoot.
- Target: A simple target will work to start with. You can purchase one, or make your own using cardboard and a cloth target face.
Step 2: Understanding Archery Stance – Find Your Focus
Archery isn’t just about pulling back the string and firing; it’s about focus, balance, and control. A strong stance is the foundation for a clean shot.
1. Feet Position:
Stand with your feet shoulder-width apart, facing perpendicular to the target. Your non-dominant foot (left foot if you’re right-handed, right foot if you’re left-handed) should be slightly forward. This will give you a solid, stable base.
2. The “Open” Stance:
Some archers prefer a “closed” stance where both feet are parallel, but the “open” stance—where your front foot is slightly angled—is the most common for beginners. It allows you to better align your shoulders and draw the bow more comfortably.
3. Hold the Bow Correctly:
Your bow hand (the hand holding the bow) should be relaxed but firm enough to keep the bow steady. The bow should rest on the base of your thumb and across your palm, but don’t grip it too tightly. A firm grip can lead to erratic shots.
4. Relaxed Shoulders:
It’s easy to tense up when you first start shooting, but relaxation is key. Your shoulders should be low and relaxed, not hunched up to your ears.
Step 3: Mastering the Draw – The Power Behind Your Shot
Now that your stance is sorted, it’s time to learn how to draw the bowstring. This is where your power comes from, so you want to do it right.
1. Nocking the Arrow:
Place the arrow on the string with the “nock” (the small groove at the back of the arrow) fitting over the bowstring. Make sure the odd-colored fletching (the feathers) is pointing away from the bow. This ensures that the arrow flies straight.
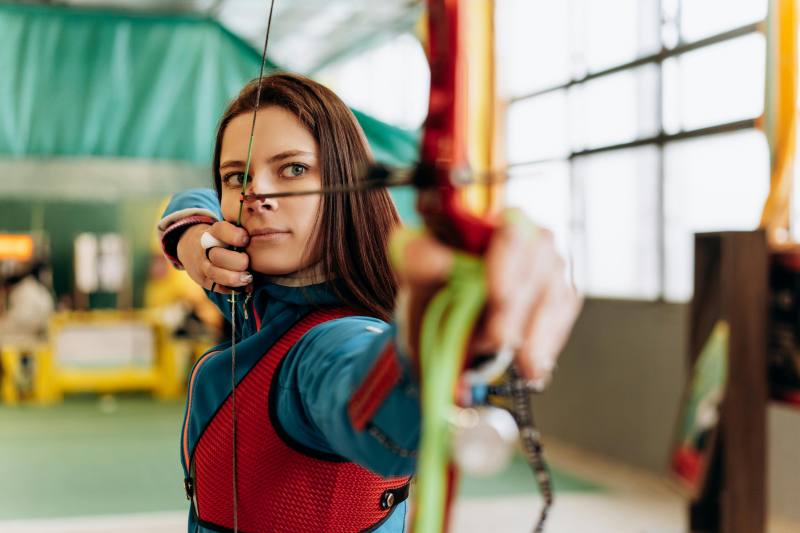
2. The Draw:
Grip the bowstring with three fingers—index, middle, and thumb—and pull the string back toward your face. Keep your elbows straight as you draw. The draw length is important; draw until the string reaches the corner of your mouth, or “anchor point.” This is where you’ll line up your shot.
3. Relax Your Grip:
The bow should feel like an extension of your arm. Focus on keeping your hand relaxed, as tension can cause the shot to go off course.
Step 4: Aiming & Releasing – Hitting Your Target
Aiming is an art that takes practice, but with the right technique, you’ll start hitting the bullseye in no time.
1. The Aim:
Use the sight (if your bow has one) or simply focus on your target. Align your bow with your eye, keeping the target in your field of vision. Some archers prefer to use the tip of the arrow as a point of reference, while others prefer to use the sight to align the shot.
2. The Release:
When you’re ready to shoot, release the string smoothly by relaxing your fingers. Don’t “flick” your fingers or jerk your hand back—that can cause the arrow to go astray. A smooth, fluid release ensures a cleaner shot.
3. Follow Through:
Don’t just shoot and forget. Keep your bow arm extended and maintain your focus on the target for a second or two after the shot. This “follow-through” ensures that the arrow flies true and that your body remains steady for future shots.
Step 5: Improving Your Skills – Practice Makes Perfect
Just like any other skill, archery requires consistent practice to improve. Here are a few tips to get better over time:
- Practice Regularly: Try to shoot a few arrows every day or every weekend. The more you practice, the better your muscle memory will become, and your accuracy will improve.
- Start Close: Begin shooting from a short distance (about 10 feet) so you can get the feel of the bow. Once you’re comfortable, gradually increase the distance to 20 yards or more.
- Check Your Form: Always double-check your stance, draw, and release. Minor adjustments can make a big difference in accuracy.
- Focus on Your Target: Don’t rush. Take a moment to steady your aim before releasing the arrow.
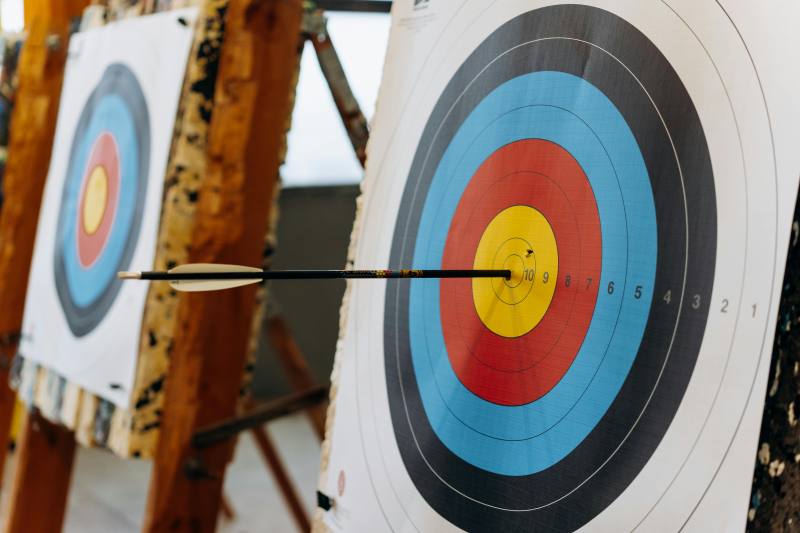
- Keep Track of Your Progress: Record how many shots you make in the bullseye, and set small goals for each session. You’ll be amazed at how quickly you improve with this method.
Step 6: Advanced Tips – Taking Your Skills to the Next Level
As you become more comfortable with archery, you’ll want to push your limits. Here are a few tips to help you take your skills up a notch:
- Improve Your Release: Work on your release technique, making it smoother and faster to increase arrow speed and accuracy.
- Shoot from Different Angles: Try shooting from different positions—standing, kneeling, or even lying down—to simulate different scenarios.
- Vary Your Distance: Mix things up by shooting from varying distances. This helps you adapt to changing conditions and builds your overall skill.
- Compete in Tournaments: Once you’re confident with your skills, consider joining a local archery club or entering competitions. It’s a great way to test yourself and meet other archery enthusiasts.
Final Thoughts – A Timeless Skill
Archery is a skill that combines precision, focus, and a connection to history. Whether you’re practicing in your backyard or dreaming of one day competing in tournaments, the journey of becoming a skilled archer is filled with both challenges and rewards. So, pick up your bow, take aim, and let the adventure begin!
With steady practice and a bit of patience, you’ll soon be hitting your target every time. And remember, even the best archers started as beginners!