
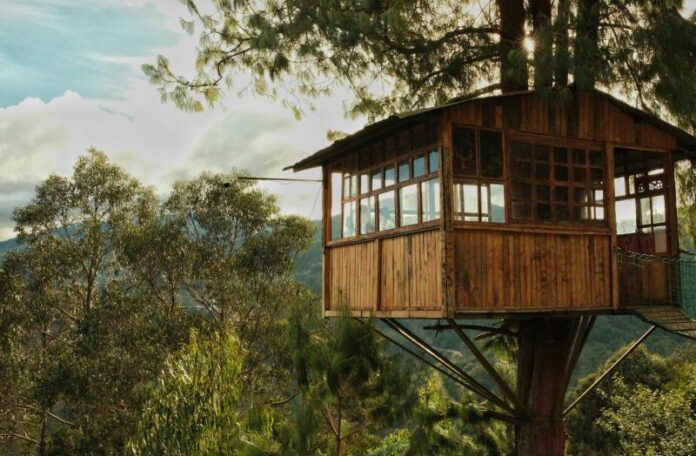

Every young adventurer dreams of building their own secret hideaway—high in the trees, far from prying eyes, and close to the sky. A treehouse is the ultimate base for every explorer, where you can escape, plan your next big adventure, or simply sit and watch the world go by. But how do you take that dream and turn it into reality? Simple! With the right tools, a solid plan, and a bit of elbow grease, you’ll be able to build a treehouse that’s sturdy, safe, and perfectly yours.
Here’s your step-by-step guide to creating your very own treehouse—whether you’re in a giant oak, a sturdy pine, or even a maple. Let’s get started, and soon enough, you’ll be climbing up to your secret perch, watching the world from above.
Step 1: Choose the Right Tree – The Foundation of Your Fortress
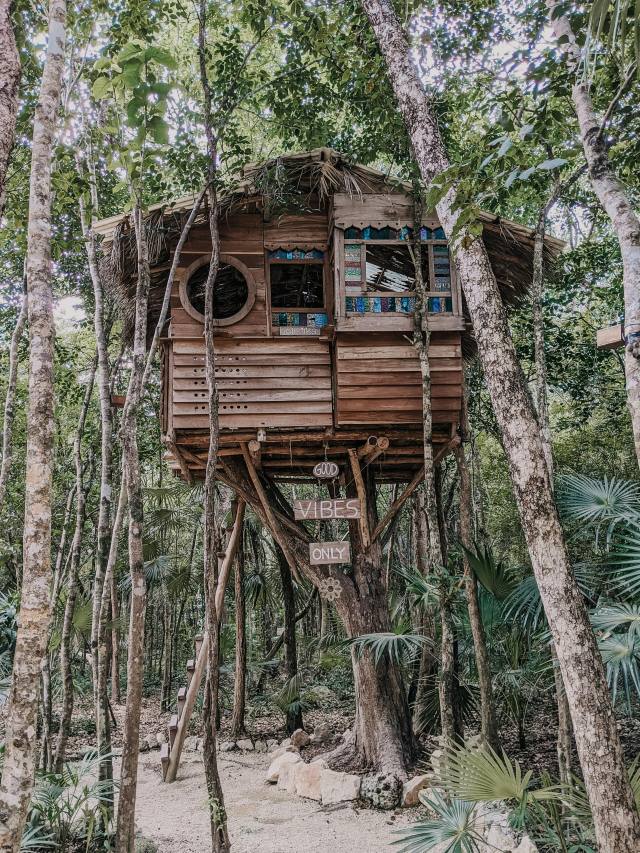
The most important part of building a treehouse is picking the right tree. Without the right foundation, your treehouse will be nothing more than a dream. Here’s how to pick the perfect tree:
- Look for a Strong, Healthy Tree: Ideally, your tree should have a thick trunk and be at least 12 inches in diameter. The tree should be healthy, with no signs of disease or rot. The branches should be strong enough to support the weight of the treehouse, so choose a tree with plenty of sturdy branches that are about 8-10 feet off the ground.
- Types of Trees: Oak, maple, and fir trees are all excellent choices for building treehouses. Avoid trees with brittle wood, like willows or poplars, as they may not be strong enough to support a structure.
- Consider the Location: Is your tree in a sunny spot? Will it be sheltered from wind or rain? Choose a tree that fits your needs, whether it’s near a creek for a rustic feel or at the top of a hill for an epic view.
Step 2: Gather Your Materials – Tools of the Trade
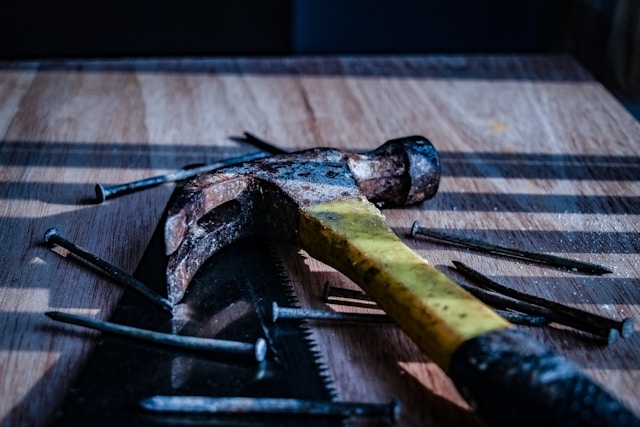
Before you start building, you’ll need to gather all the right materials. Here’s what you’ll need for a basic treehouse:
- Wood: Pressure-treated lumber is best for building the structure and platform. You’ll need 2x4s and 2x6s for the frame, plus ¾” plywood for the flooring.
- Tools: You’ll need a tape measure, level, hammer, drill, saw (preferably a circular saw), screws, nails, and a ladder. A power drill and driver will make things much faster.
- Safety Gear: Don’t forget your safety gear! A hard hat, safety goggles, and gloves are essential, especially when you’re working at height.
- Rope or Pulleys: These will help you lift heavy materials like lumber and nails into the tree without needing a crane (or your dad to carry everything up).
Step 3: Plan Your Treehouse – Design & Blueprint
Before you start nailing boards together, take a little time to plan your design. The more detailed your blueprint, the smoother the build will go. Here’s how to plan:
- Size and Layout: Decide how large you want your treehouse to be. For a basic beginner treehouse, keep it simple—about 6 feet by 6 feet is a good starting point. If you want extra space for a small loft or storage, plan accordingly.
- Platform Design: Start with the basics—a flat platform where you can sit and relax. You can always add walls, windows, and a roof later, but for now, focus on a sturdy foundation.
- Height and Access: Will your treehouse have a ladder or a rope swing to get in? Maybe a wooden staircase for a more grand entrance? Decide where the entry point will be and how you’ll access it safely.
Step 4: Building the Platform – Laying the Foundation
With your tree chosen and materials gathered, it’s time to start building the platform. This is the most crucial part of your treehouse, so make sure you get it right!
- Support Beams: Use 2x6s for the main support beams, attaching them securely to the tree trunk. These should rest on sturdy, horizontal branches, and be fastened with lag bolts (heavy-duty screws). Space the beams around 3 feet apart to evenly distribute the weight.
- Platform Frame: Once the support beams are in place, use 2x4s to create a rectangular frame that will support the plywood flooring. Secure the 2x4s with screws and nails, making sure everything is level and square.
- Flooring: Once the frame is in place, lay down the plywood on top and secure it with screws. Be sure to leave a small gap between each piece of plywood to allow for water drainage (especially if you live in a rainy area).
Step 5: Building the Walls – Enclosing Your Hideaway
Now that your platform is secure, it’s time to add some walls to your treehouse for a little shelter from the wind (and to make it feel more like home).
- Building the Frame: Use 2x4s to create the frame for each wall. Start with a basic rectangle for each wall, measuring the height of your treehouse. Secure the frame with screws, and be sure to check that everything is level and square.
- Attaching the Walls: Once the frames are built, carefully lift them into place and secure them to the platform with screws. If your treehouse is built in a way that it leans against a tree, you’ll want to make sure the walls are braced against the trunk for added stability.
- Windows & Door: For added charm, cut out window spaces or a small door to your treehouse. You can frame these with 2x2s and attach some plexiglass for a weatherproof window. You can always add a wooden door later or use a curtain for a bit of privacy!
Step 6: Add the Roof – Sheltering from the Storms
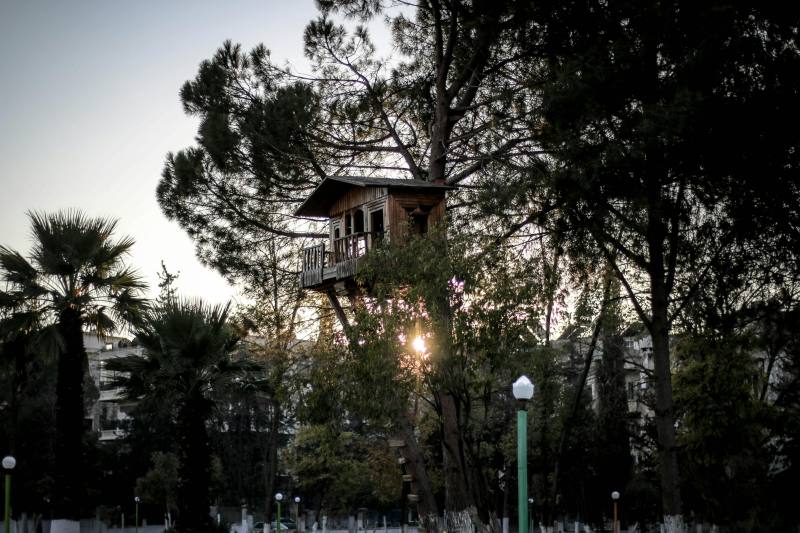
A roof will keep your treehouse dry and cozy, even during the rain. Here’s how to build one:
- Roof Frame: Use 2x4s to create the basic roof frame. You’ll want a slanted roof to allow rain to run off. Make sure to secure the roof beams to the tree and to the walls of your treehouse.
- Roofing Material: You can use plywood for the roof, then cover it with roofing felt or shingles for added weatherproofing. For a more rustic look, you could even use metal roofing or wood shingles.
- Finishing Touches: Install some simple gutters to keep rain from running off and pooling around your treehouse. Then, add any finishing touches you want, like a chimney, a flagpole, or even a small porch for your treehouse.
Step 7: Making it Your Own – Customizing Your Treehouse
Now that your treehouse is built, it’s time to make it truly yours. Here are some ideas for customization:
- Paint & Decor: Use outdoor paint to give your treehouse some character. Go for bold, bright colors, or a more natural wood stain for a rustic feel. Inside, hang up some posters, cushions, or fairy lights to make it feel like a true hideaway.
- Furniture: Add a bench or some old cushions for a comfy sitting spot. You could even build a small bookshelf or a desk for reading or sketching your next adventure.
- Rope Swing or Ladder: For that added touch of adventure, you can hang a rope swing off one of the branches or build a sturdy wooden ladder to climb up and down.
Final Thoughts – Your Very Own Adventure HQ
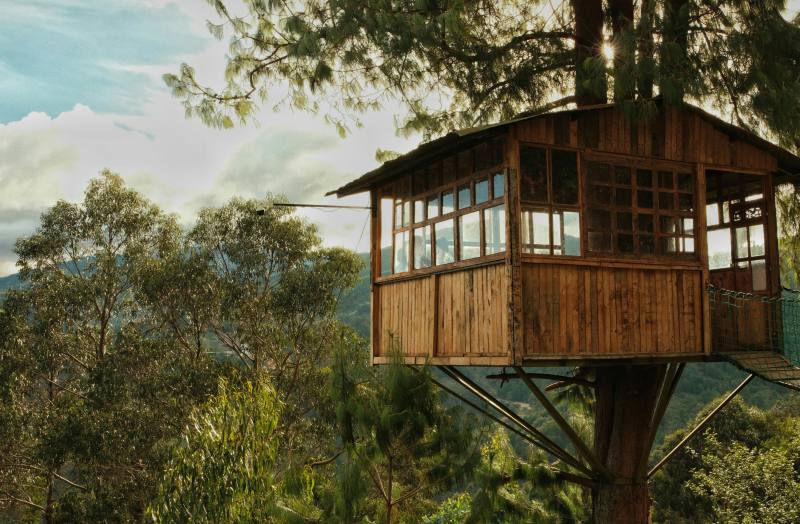
Congratulations, you’ve just built your very own treehouse—an epic hideout that will be the envy of your friends and the perfect base for all kinds of adventures. Whether you’re using it as a secret base for spy missions, a cozy place to hang out, or a lookout tower for your neighborhood, your treehouse is a project you’ll be proud of for years to come.
So, next time you’re looking for a new project, remember that building a treehouse is not just about craftsmanship—it’s about adventure, creativity, and carving out a little piece of the wild all for yourself.

